INTERACTIVE COLD FOAM MAKER

How to make
cold foam at home.

Can you make the perfect cloud?

Choose your cup, milk, sweetness and flavor. Then measure, froth and pour to unlock a personalized take-home recipe.

4 skill checksCustom formulaReal technique
NEW RECIPE · ONE ORDER
Design your cold foam

Your choices change the target amount, sweetness and final take-home formula.

YOUR MISSIONCustomize it, then score 85+ on technique
4SKILL
CHECKS
01 — Choose your drink size
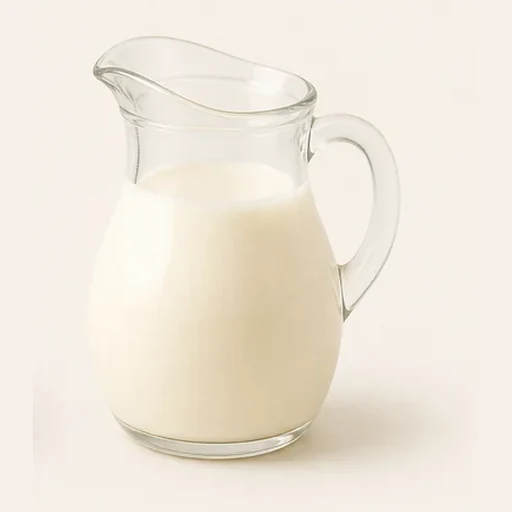
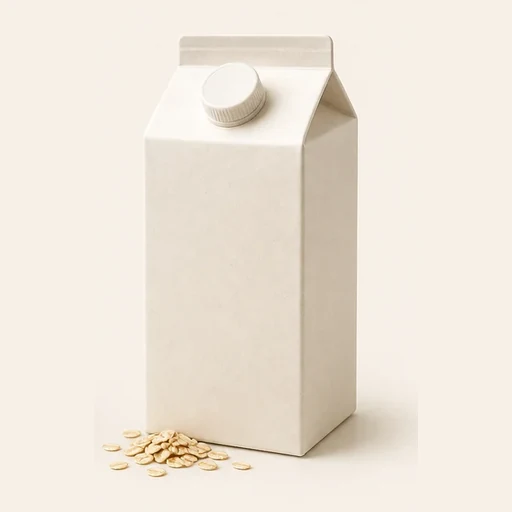
02 — Pick your milk
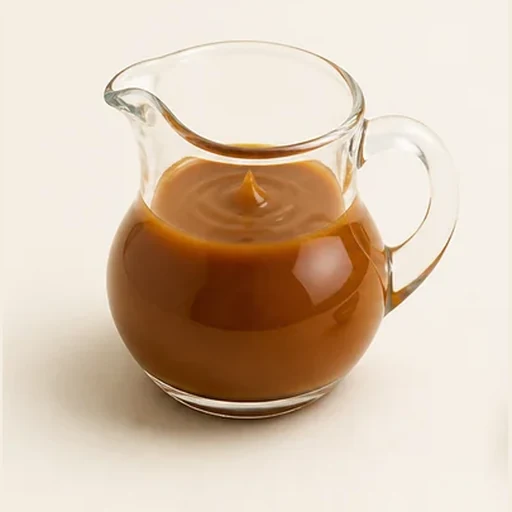
03 — Pick a flavor
04 — Set sweetness
YOUR TARGET FORMULA60 ml skim milk+2 tsp vanilla syrup·15 sec froth

COMPLETE COLD FOAM GUIDE

How to make cold foam at home

Cold foam is cold milk aerated into a light, pourable topping. The goal is not stiff whipped cream: the best cold foam has tiny glossy bubbles, enough body to float on iced coffee, and a texture that slowly blends into the drink.

BASIC FORMULA · 1 DRINK60 ml cold milk+1–2 tsp syrup+15–30 sec frothing

Start with ingredients directly from the refrigerator. A cold, narrow container makes it easier to introduce air without splashing.

Cold milk being poured into a stainless steel frothing pitcher
01

Chill your setup

Use milk at refrigerator temperature and, if possible, chill the glass or pitcher for a few minutes. Warm milk forms less stable cold foam.

Real milk stream being measured into a clear glass
02

Measure 60 ml

Pour ¼ cup / 60 ml milk into a container with plenty of empty space. Filling it less than halfway gives the foam room to expand.

Syrup being poured into a prepared coffee drink
03

Sweeten first

Add 1–2 teaspoons vanilla, caramel or simple syrup before frothing so the flavor disperses evenly. Leave it out for unsweetened foam.

Hand frother held at the surface of milk in a metal pitcher
04

Pull in air

Place the whisk just below the surface for the first few seconds. You should hear a soft tearing sound—not loud splashing.

Hand frother mixing milk deeper in a stainless steel pitcher
05

Refine the bubbles

Move the frother slightly deeper and keep the milk circulating. Stop when the volume has grown and the surface looks glossy and uniform.

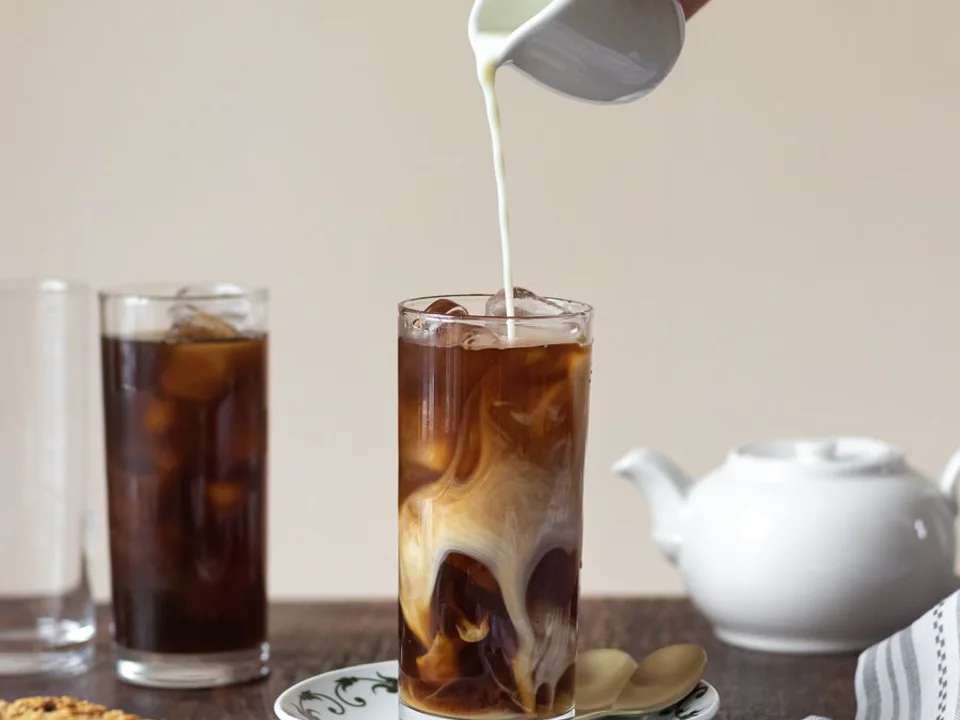
Cold foam being poured over a glass of iced coffee
06

Pour right away

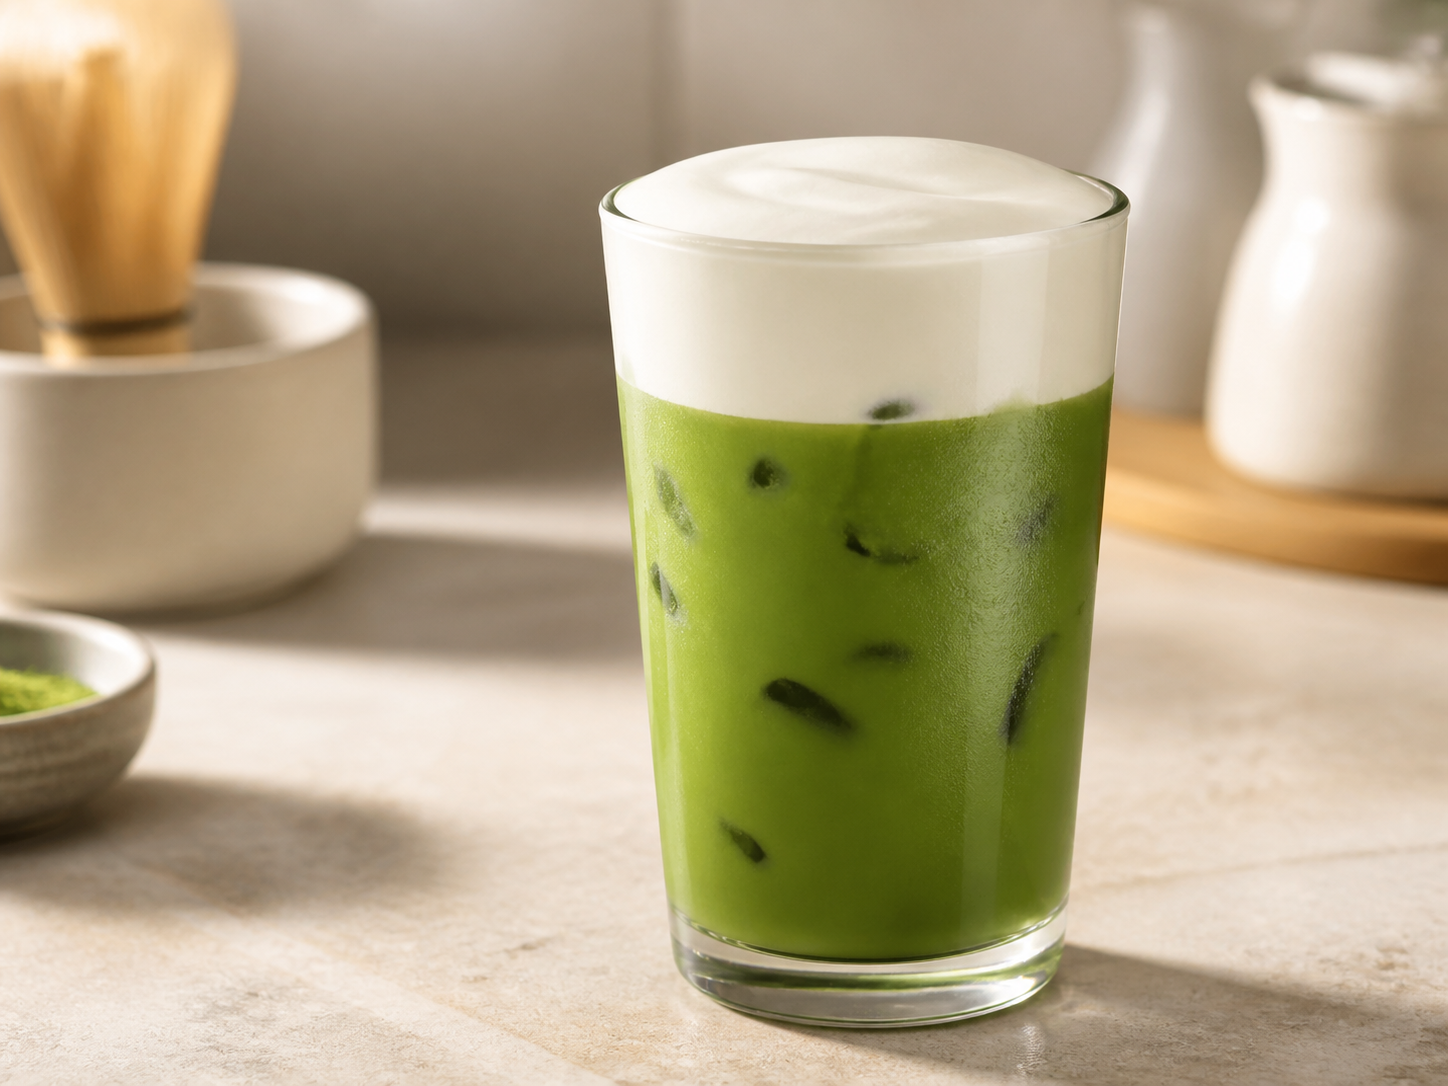
Tap the container once, swirl gently, then pour or spoon the foam over iced coffee, cold brew, matcha or chai.

CHOOSE YOUR TEXTURE

Which milk works best?

Skim or low-fat

Creates the lightest, most voluminous foam. It is airy rather than rich.

Whole milk

Balances creaminess and volume, with a softer, silkier finish.

Half & half

Makes dense, dessert-like foam. Use a smaller amount because it is much richer.

Barista oat milk

Usually foams more reliably than standard oat milk. Results vary by formulation.

NO FROTHER?

Three ways to aerate

Hand frother: move from the surface to slightly deeper for 15–30 seconds.

French press: fill less than halfway and pump the plunger briskly 20–30 times.

Sealed jar: shake vigorously for 30–45 seconds. The bubbles will be larger, but it works.

TROUBLESHOOTING

Why didn’t it foam?

Milk stayed flat: it may be too warm, or the whisk was held too deep.

Large dry bubbles: the whisk stayed at the surface too long. Finish slightly deeper.

Foam collapsed: pour it sooner and avoid over-frothing.

THE COLD FOAM NOTEBOOK

Go deeper than the game.

Explore tested recipes, alternative frothing methods and flavor guides built around the questions home baristas search most.

View all guides →
RECIPE GUIDE

What is cold foam?

Ingredients, texture and why it floats

RECIPE GUIDE

The reliable 60 ml recipe

A precise formula for glossy foam

RECIPE GUIDE

No frother? No problem.

French press, jar and blender methods

RECIPE GUIDE

Vanilla cold foam

The right milk-to-syrup ratio

RECIPE GUIDE

Strawberry cold foam

Real fruit without collapsing the bubbles

RECIPE GUIDE

Lavender cold foam

A floral recipe that stays balanced