ONE SERVING
Ingredients
- 120 ml (½ cup) refrigerator-cold skim, 2% or barista oat milk
- 2–4 teaspoons thin vanilla or simple syrup, optional
- Two iced coffees, cold brews or matchas for serving
THE METHOD
Step-by-step
- 01
Chill the milk and blender jar. Use at least 120 ml so the blades can circulate the liquid.
- 02
Add milk and optional thin syrup, keeping the blender well below its maximum fill line.
- 03
Pulse on the lowest speed for about one second, then pause. Repeat 6–8 times.
- 04
Stop when the volume has increased and the top looks glossy, not dry or chunky.
- 05
Rest for 10 seconds, swirl the jar and pour immediately over two iced drinks.
01
Why a blender works for cold foam
Blender blades pull air into cold milk while circulating the liquid through the bubbles. Milk proteins then form a film around that air. A blender is especially useful for a two- or three-drink batch because a very small serving may sit below the blades and barely move.
The texture is usually a little looser than foam from a French press or handheld frother, but careful pulsing can still produce a smooth, pourable layer that floats on cold brew.
02
Use low speed and short pulses
High speed is the most common mistake. It can create large dry bubbles, splash milk high up the jar and warm the mixture through friction. Begin at the lowest setting and use one-second pulses with a short pause between them.
Watch the surface instead of relying only on a timer. Six to eight pulses is a useful starting point, but blade shape and batch size change the result. Stop as soon as the foam looks uniform and has expanded noticeably.
03
The best milk and batch size
Skim and 2% milk usually gain the most volume because their proteins stabilize air without a heavy layer of fat. Whole milk makes a softer, creamier topping. For dairy-free cold foam, choose a chilled barista oat or soy milk rather than a thin everyday beverage.
A standard countertop blender often needs about 120 ml to keep the mixture circulating. That is enough for two drinks. If you only want one 60 ml serving, a narrow immersion-blender beaker may work better.
04
Countertop vs. immersion blender
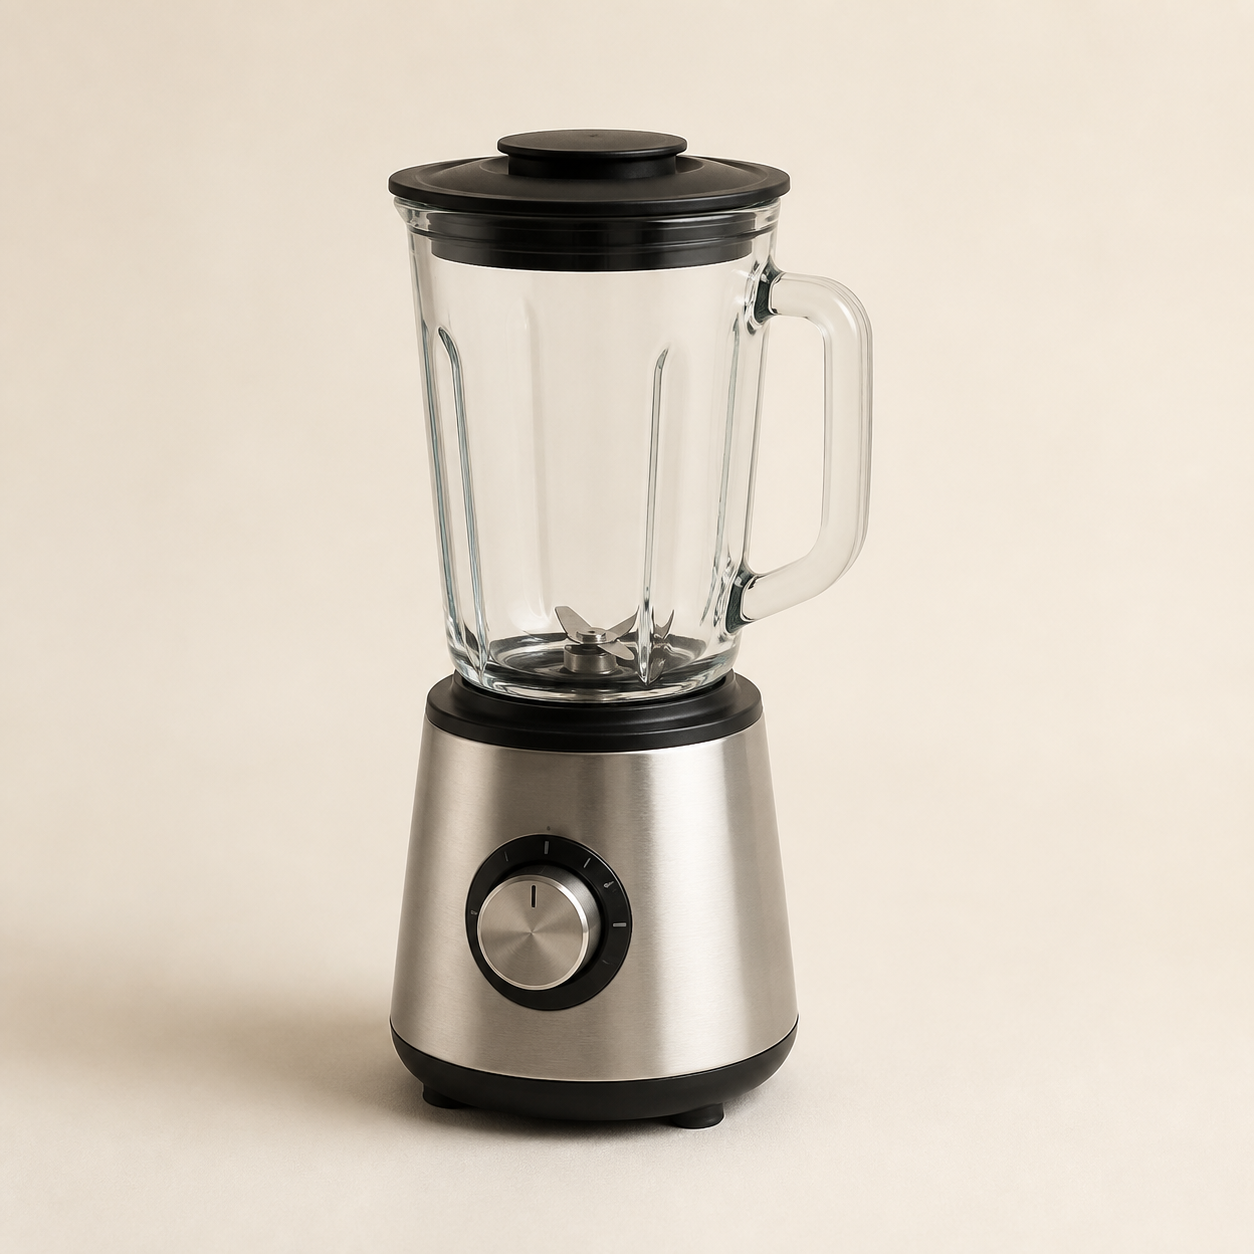
With a countertop blender, keep the lid secured and use the lowest pulse setting. With an immersion blender, place the milk in a tall narrow container, keep the blade guard submerged and tilt it slightly to build circulation without splashing.
Do not repeatedly lift an immersion blade out of the milk. Pulling it through the surface can spray the counter and makes coarse bubbles instead of a glossy foam.
05
Troubleshooting blender cold foam
If the blades spin without moving the milk, increase the batch size or switch to a narrower vessel. If the foam is hot or coarse, shorten each pulse and start with colder ingredients. If it disappears immediately, try low-fat dairy milk or barista plant milk and reduce thick syrup.
Tap the jar once and let the foam rest for ten seconds before pouring. That brief pause lets oversized bubbles rise while the smoother foam remains underneath.
QUICK ANSWERS
Frequently asked questions
Can you make cold foam in a regular blender?
Yes. Use at least 120 ml cold milk and 6–8 short pulses on the lowest speed, stopping when the foam becomes glossy.
Can I make one serving in a blender?
Sometimes, but 60 ml may sit below the blades. An immersion blender in a narrow beaker or a handheld frother is more reliable for one serving.
How long do you blend milk for cold foam?
Use short one-second pulses rather than one continuous blend. Most batches need roughly 6–8 low-speed pulses.
Why is my blender cold foam bubbly instead of creamy?
The speed was probably too high or the batch was blended too long. Use colder milk, lower speed and shorter pulses.
Turn this guide into your recipe.
Choose your serving size and preferences, practice the technique, then take home a personalized formula.